How to Steam Milk at Home (The Way We Teach Cafes)
Your coffee at home is probably fine. Your milk is the problem. Microfoam, the right temperature, and how to get there with or without a steam wand.
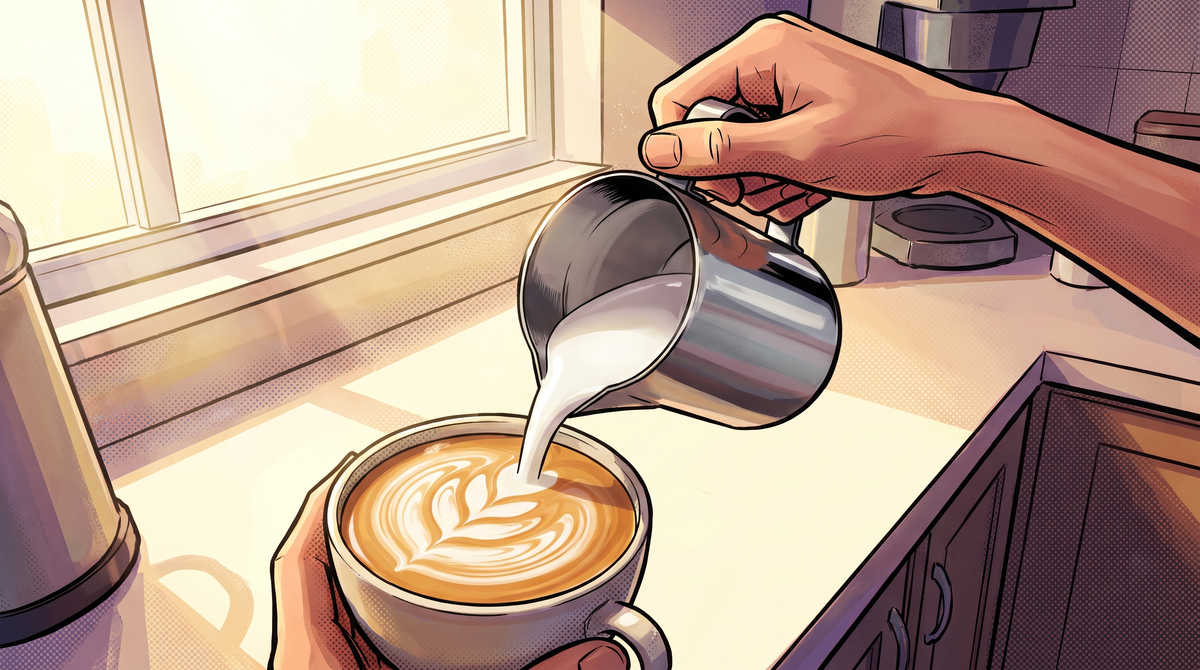
It's Almost Never the Machine
Your coffee at home tastes worse than the cafe version and you have probably blamed the machine. Nine times out of ten it is the milk.
We train baristas on this constantly. Someone can pull a genuinely good shot, then wreck it in the next 20 seconds with milk that is too hot, too bubbly, or both. The coffee never stood a chance.
Good milk is not a garnish. In a flat white it is about 80% of what is in the cup, so it is most of what you are tasting. Get it right and an average shot still tastes great. Get it wrong and a brilliant shot tastes like a hot bubble bath.
Here is what actually matters, and how to do it whether you own a steam wand or not.

Microfoam, and Why Yours Is Probably Froth
Froth is big bubbles. It sits on top, it wobbles, and it collapses into a sad ring on the side of the cup. You can see the bubbles with your naked eye. That is air that never got mixed in.
Microfoam is bubbles so small you cannot see them individually. The milk goes glossy and heavy, like wet paint, and it pours as one thing instead of separating into liquid and foam. That is the texture you are chasing.
The difference is when the air goes in. All of your air needs to be introduced in roughly the first 3 seconds, while the milk is still cold. After that, the job is spinning it, not adding to it. Keep letting air in late and you get froth, every time.
Temperature is the other half. Aim for 60 to 65 degrees. That is hot enough to feel properly hot in the mouth and it is where lactose tastes sweetest.
Push past about 70 degrees and you scald it. The proteins denature, the sweetness goes, and you get that boiled, slightly eggy flavour. This is the single most common fault we taste when we visit a venue. Nobody means to do it. They are watching the queue instead of feeling the jug, and once you have served scalded milk a few hundred times without a single complaint, it quietly becomes your normal.
| What You Are Aiming For | |
|---|---|
| Air in | First 3 seconds only, milk still cold |
| Final temp | 60 to 65°C |
| Too hot | 70°C and up. Scalded, loses sweetness |
| Jug fill | Milk to the bottom of the spout, no higher |
| Texture | Glossy, like wet paint. No visible bubbles |

The Method, Step by Step
This is the steam wand version. Skip to the next section if you do not have one.
1. Purge the wand first. Blast it for a second before it goes near the milk. There is condensed water sitting in that wand and it will thin your milk out.
2. Fill the jug to the bottom of the spout. No higher. Milk roughly doubles in volume and you need the room. Cold milk, straight from the fridge, so you have more time to work.
3. Set the tip just under the surface. Wand angled slightly, tip a few millimetres below the milk, off to one side rather than dead centre. Off-centre is what makes it spin.
4. Open the steam fully and count to 3. You want a sound like paper tearing, quiet and steady. If it screams or spits, the tip is too high. If you hear nothing, it is too deep. Those 3 seconds are all the air you get.
5. Drop the tip deeper and let it spin. Now the noise should stop and the milk should roll in a tight whirlpool. This is the part everyone rushes. That spin is what breaks the big bubbles down into microfoam.
6. Stop when you cannot hold the jug. Keep your hand flat on the side of the jug the whole time it is steaming. The moment it gets too hot to keep it there, kill the steam. That is right on the 65 degree mark, and it is exactly how we do it on our own bench. No thermometer, no dial, no guessing.
7. Bang and swirl. Tap the jug once on the bench to pop any surface bubbles, then swirl it until it looks like glossy paint. Pour straight away.
Never re-steam milk you have already steamed. The proteins that hold the foam up are spent, so all you get the second time is hot bubbly liquid. Steam what you need and tip the rest.
No Steam Wand? These Actually Work
You can get genuinely good milk at home without a machine. Not identical, but close enough that you will stop missing it.
| Method | Cost | How it goes |
|---|---|---|
| Plunger | $0 if you own one | Best of the lot. Warm milk first, half fill, pump the plunger 20 to 30 times |
| Jar and microwave | $0 | Shake cold milk hard for 30 seconds, lid off, microwave 30 seconds |
| Handheld frother | About $15 | Quick, but tends toward froth. Keep it under the surface |
| Automatic frother | $60 to $150 | Consistent and hands off. Most run hotter than we would like |
The plunger trick is the one worth knowing. Warm the milk first, pour it in until the jug is half full, then pump the plunger up and down about 25 times. The mesh does the same job the steam does, forcing the air into small bubbles. Bang and swirl afterwards exactly the same way.
The Milk Itself Matters More Than You Think
Fat carries flavour and protein builds the foam, so what you pour changes the result before you touch it.
Full cream is the easiest and the sweetest. If you are learning, learn on this.
Skim foams up big and stiff because of the protein, but it is thin in the mouth and it goes to froth fast. It is less forgiving, not more.
Oat is the best of the alternatives by a distance, but only the barista editions. They add a little fat and adjust the acidity so it will not split against a hot shot. Regular oat milk out of the fridge section will curdle and there is nothing you can do about it.
Almond is the hardest. Low protein, splits easily, and the flavour fights the coffee rather than sitting under it.
The one we use and recommend is Brownes Extra Creamy. It is a WA dairy, it is built for coffee rather than for cereal, and it steams sweeter and holds its texture longer than standard full cream. If you can get it, get it.
Which Coffee to Put Under It
A blend built for milk and a blend built for black are not the same thing, and this is where a lot of home setups quietly go wrong.
People Everyday is our flat white hero. It is the one we build around milk, and it tastes like coco pops and vanilla milkshakes when it lands in a cup. If you want one blend at home that keeps everyone happy, it is this.
If you like it stronger, No Sleep Till Brooklyn has more backbone and cuts through milk instead of disappearing into it. Think Jaffa cakes in a dark chocolate thickshake.

The BOM Take
You do not need a thermometer. Use your hand.
Hold the jug from the side while it steams and wait for the moment you want to let go. That flinch is the 65 degree mark. It is a better guide than a dial because it is always with you, it never needs calibrating, and it makes you pay attention to the milk instead of a number. We do not run thermometers on our bench and we do not tell cafes to buy them.
Almost every bad milk drink we taste is simply too hot, and it is the one fault people cannot spot in themselves, because they have never had the same coffee made properly next to it. Learn where too-hot-to-hold sits on your own hand and you will fix most of it this week, for nothing.
Ready to pour?
Shop our signature blends, roasted in Perth and ground to order. Or check the full brew guide for step-by-step recipes across every method.
Keep Reading
- How to Dial In Espresso at Home. Get the shot right before you worry about the milk.
- Home Espresso Machines: What to Buy (And What to Skip). Which machines actually steam properly.
- The Plunger Is Underrated. The same tool that froths your milk makes a serious brew.
- Brew Guide. Our full brewing reference for every method.
Written by Jos at Brother of Mine, specialty coffee roasters in Perth.
Keep reading
More from Ground Level.


