The AeroPress Is the Best $50 You'll Spend
A $50 plastic tube that makes better coffee than machines costing 10x more. Our recipe, method tips, and blend recommendations.
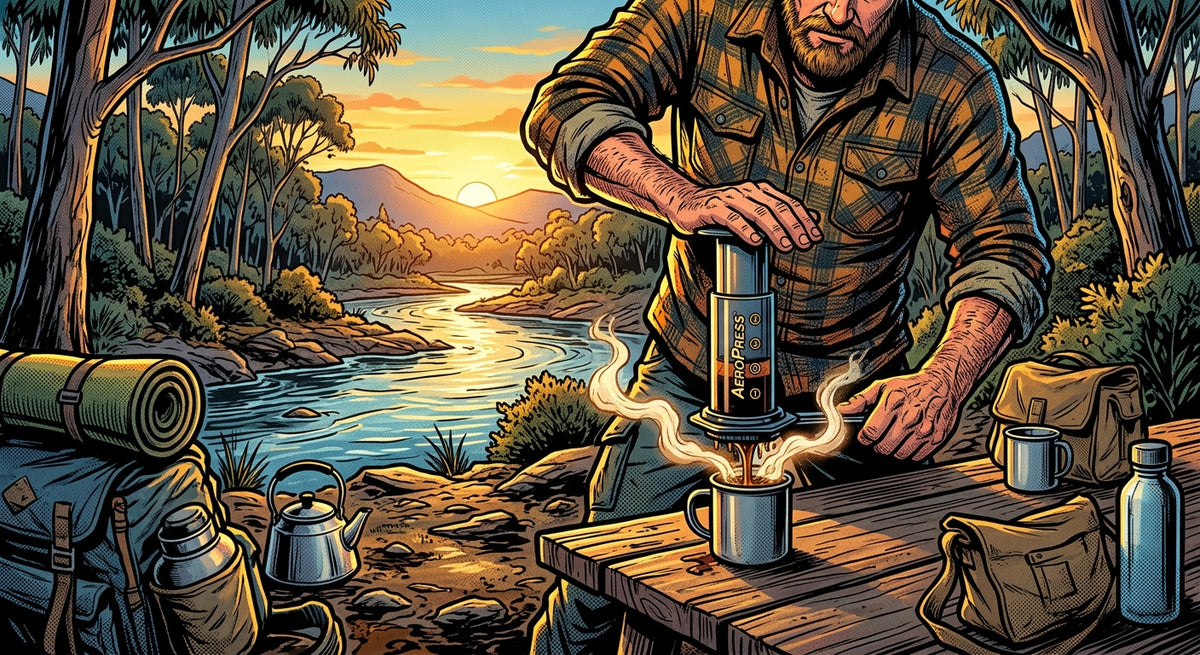
Fifty Bucks. Better Than Your Machine.
There's a plastic tube that costs about $50 and makes better coffee than machines ten times its price. It fits in a backpack. It cleans up in ten seconds. It's basically indestructible.
It's called the AeroPress. And we recommend it to almost everyone who walks in and says"I want good coffee at home but I don't want to spend hundreds on gear."
We wrote a post about the plunger being the cheapest way to level up your coffee. The AeroPress is its cooler sibling. Same energy, more versatility. Espresso-style concentrate. Clean filter coffee. Cold brew. Travel coffee on the road. All from one device that weighs less than a bag of beans.
The Recipe
This is the inverted method. We'll explain what that means in a second. For now, here's the recipe we use at the roastery and send home with anyone who asks.
| BOM AeroPress Recipe (Inverted Method) | |
|---|---|
| Coffee | 15g |
| Grind | Medium-fine (like regular sand) |
| Water | 200ml |
| Water temp | 88-93°C (let kettle rest 30-60 seconds off boil) |
| Steep time | 1:30 |
| Press time | ~30 seconds (slow and steady) |
| Total time | ~2 minutes |
That gives you a strong, clean concentrate. Drink it straight for a punchy short black vibe. Or add 50-80ml of hot water for an Americano-style long coffee. Both work.

What Is the Inverted Method?
The standard way to use an AeroPress is right-side up. Coffee goes in, water goes in, gravity starts pulling it through the filter immediately. Problem is, you lose brew time. The coffee starts dripping into your cup before it's had enough time to steep properly.
The inverted method fixes this. You flip the whole thing upside down so the plunger is on the bottom and the open end faces up. Coffee and water go in. Nothing drips. It just sits and steeps for as long as you want.
When the timer hits 1:30, you cap the top with a rinsed paper filter, flip the whole thing onto your cup, and press down slowly. That's it. Thirty seconds of gentle pressure and you're done.
Sounds fiddly. It's not. After two or three goes you'll do it without thinking.

Step by Step
1. Set up inverted. Push the plunger in about 1cm and flip the AeroPress upside down so it sits on the plunger. It's stable. Don't stress.
2. Add coffee. 15g, medium-fine grind. Think regular sand. Finer than a plunger, coarser than espresso.
3. Pour water. 200ml at around 90°C. Pour it all in and give it three good stirs.
4. Wait. Set a timer for 1 minute 30 seconds. Let it steep.
5. Cap, flip, press. Put a rinsed paper filter in the cap, twist it on, and flip the whole thing onto your mug in one smooth motion. Press down slowly for about 30 seconds. Stop when you hear the hiss.
6. Drink. Straight up or diluted with hot water. Your call.
Total time from kettle to cup: about two minutes. Cleanup is even faster. Pop the cap, push the plunger to eject the puck straight into the bin, rinse, done. Ten seconds.
Why We Love It at BOM
Half the team carries an AeroPress to work. Some keep one in their car. One of the crew takes it camping every single trip.
The reasons are simple. It's fast. Two minutes from kettle to cup versus four for a plunger. Cleanup is almost nothing. It's light, it's plastic, it survives being thrown in a bag with everything else. And it makes genuinely excellent coffee with zero fuss.
It's also the most versatile brewer we sell. Want espresso-style concentrate for a makeshift flat white? AeroPress. Want a clean, bright filter coffee? AeroPress with a paper filter. Want something thick and full-bodied like a plunger? Swap the paper for a metal filter. Want cold brew? Steep with cold water for a couple of minutes and press. Same device, completely different cups.
We've tried to find another brewer under $100 that does all of that. There isn't one.
How Each Blend Works in the AeroPress
The AeroPress is forgiving. All three of our blends work well. But each one has a sweet spot.
People Everyday
Coco pops and vanilla. Silky smooth. PED was built to be a crowd pleaser and the AeroPress brings out its sweetness beautifully. Use the standard recipe above: 15g, 200ml, 93°C. The higher temp suits the medium roast and draws out all that vanilla character. This is the one we recommend if you're trying the AeroPress for the first time.
No Sleep Till Brooklyn
Jaffa cakes in a dark chocolate thickshake. Punchy and concentrated. NSB loves the AeroPress because the short steep time and lower volume (try 190ml instead of 200ml at 91°C) give you a thick, intense cup. It's like a short black with more flavour complexity. Cuts through milk too, if you want to pour it over steamed milk for a quick latte.
Hyperdrive
Maltesers melting in dark chocolate. Full power. This is our darkest blend so you want to be a bit gentler. Drop the water to 180ml and the temp to 88°C. That stops it tipping into bitterness. The result is still bold and heavy, just without the harsh edge. If you find it too intense, grind slightly coarser than medium-fine and extend to medium.
Paper Filter vs Metal Filter
The AeroPress comes with paper filters but you can buy a reusable metal disc that fits in the same cap. Both work. They just give you different cups.
Paper filter: Cleaner cup. Brighter flavours. The paper traps oils and fine particles so what hits your mug is smooth and clear. Similar to pour-over. This is what we use most of the time.
Metal filter: More body. Richer mouthfeel. The metal lets oils and fines through, so you get something closer to a plunger in texture. Heavier, fuller, more oomph.
Neither is better. Paper if you want clean and bright. Metal if you want thick and rich. Try both and pick your lane. Or switch depending on the blend. PED sings through paper. NSB is a weapon through metal.
The Championship Is Real
Here's a fun one. The World AeroPress Championship is a real, annual competition. Baristas from dozens of countries submit recipes and compete for the best cup.
The winning recipes are usually weird. Strange ratios, bizarre temperatures, techniques that look like they shouldn't work. But they do. Because the AeroPress is so forgiving that you can push it in directions that would break other brewers.
We're not saying you need to compete. But if you ever get bored with the standard recipe, search for WAC winning recipes. It's a rabbit hole, and every recipe works because the AeroPress just handles whatever you throw at it.
Common Mistakes
Water too hot? Dark roasts go bitter fast. If you're brewing NSB or Hyperdrive, make sure you're below 92°C. Let the kettle sit for a full minute off boil.
Pressing too hard? Slow down. The press should take 20-30 seconds. If you're fighting it, your grind is too fine. If it drops with no resistance, too coarse.
Weak cup? Check your dose. 15g is the floor. If you like it stronger, bump to 17g before you start changing grind size.
Tastes flat? Probably stale beans. No brew method saves old coffee. Check how to store your beans properly and make sure you're using them within 4-6 weeks of roast.
Get Started
All three of our blends are available in AeroPress grind. We grind to order the day your bag ships. Medium-fine, dialled in for exactly this method.
If you've been thinking about upgrading your home coffee setup but don't want to spend $500 on an espresso machine, this is the answer. Fifty dollars. Two minutes. Coffee that holds its own against anything.
Grab a bag and start brewing.
Shop our signature blends. roasted in Perth, shipped fast, available in AeroPress grind. Or check our full brew guide for recipes across every method.
Keep Reading
- The Plunger Is Underrated. Here's the Recipe We Give Our Cafes.. The AeroPress's older sibling. Different method, same philosophy.
- The $30 Fix That Changes Everything. The cheapest upgrade that makes the biggest difference to your coffee.
- How to Store Coffee So It Actually Stays Fresh. Great beans deserve proper storage. One canister changes everything.
- Brew Guide. Our full brewing reference for every method.
Written by Jos at Brother of Mine, specialty coffee roasters in Perth.
Keep reading
More from Ground Level.


